In this blog, we will be looking at how to connect HDMI cable to TV. In today’s age of entertainment, we need to be connected every moment. With Television being the dominant type of immersive entertainment experience at every home, it is prudent to be ready with different devices to connect high-quality digital visual and audio content. HDMI (High-Defenition Multimedia Interface) is the most common format for transmitting multimedia content between devices.
Steps to connect HDMI to TV
Step 1: Identify the HDMI port
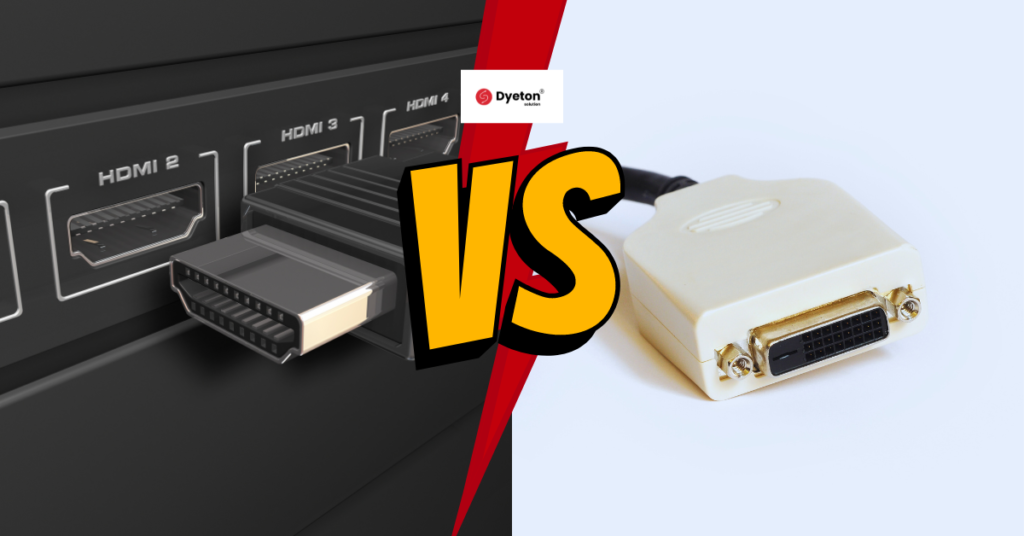
With the rise of innovations in Internet TVs, most modern televisions will have an inbuilt HDMI port which is full size (Type A) and measures 13.9 mm x 4.45mm. If the television has multiple ports, each port will be labelled for easy identification. They are usually found on the rear panel, but sometimes on the side and front panel.
Step 2: The right HDMI cable matters
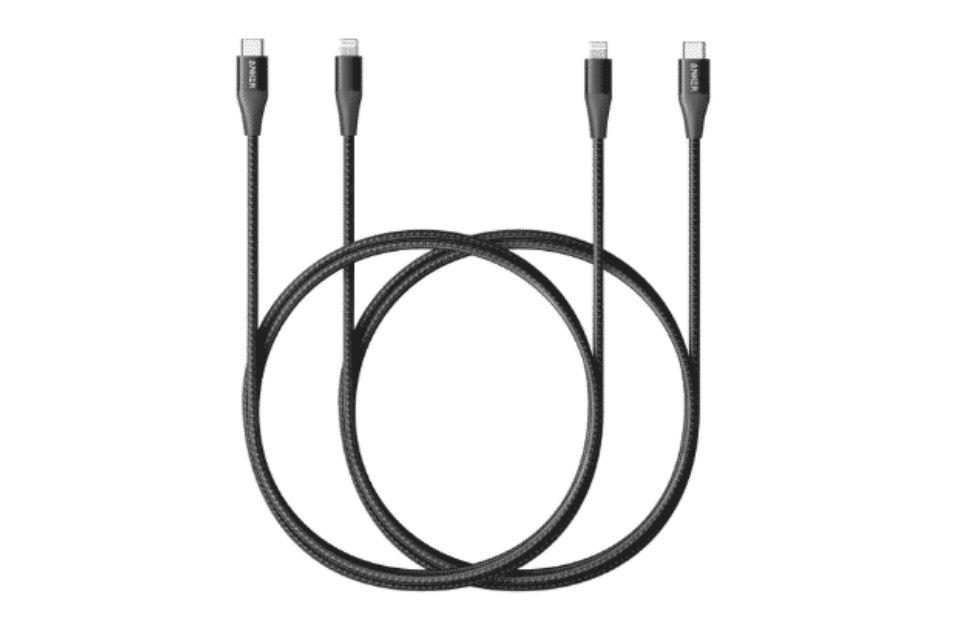
It is important to check the ports before buying the HDMI cable. For TVs, the HDMI cable will usually be a type A cable with 19 pin connector on both sides. But the cable will differ with respect to different devices. Some of the devices and their corresponding compatible ports are listed below:
- Type A connection cables for TVs, PCs and Laptops
- Type C (Mini HDMI) for DLSR cameras and camcorders
- Type D (Micro HDMI) for smartphones
Step 3: Connect one end of the cable to the required device
Turn on the connecting device and connect the HDMI cable to the device’s port. But, make sure to insert it in the correct direction – unlike Type-C cables and ports. Never force the cable into the port incorrectly as it may damage both the port and the cable.
Step 4: Connect the other end of the cable to the TV
Switch on the TV and plug in the cable securely. Then, select the correct input mode on the TV (in case your TV has multiple HDMI ports) and take note of it.
Step 5: Switch on the HDMI Source on your TV
Press the source button on the remote. Your TV screen will pop up with options like TV, AV, HDMI1, HDMI2 etc. Select the correct HDMI channel as per the port plugged in. Use the navigational keys to select the correct HDMI channel on your TV.
Post selection, you should be able to see the content on the device’s screen on your TV.
If you are using Windows, press the Windows key+P, to open the project panel, and select the option for displaying and mirroring the device’s screen on a TV.
In the case of a Mac, the system automatically detects and mirrors the screen of the device on the TV. If the screen dimensions are incorrectly displayed, navigate to Apple menu > System preferences > Displays > Display; select the ‘default for display’ option. If you need a particular resolution, choose the ‘Scaled’ option and enter the required resolution.
Step 6: Configure the device’s audio to source via the TV
If the audio of your device needs to be sourced from the TV, then open the Sound settings on your device; choose the default audio device as ‘Speakers (High Definition audio)’ via the ‘Choose your output device’ menu.
Now, the audio of the device will get sourced via the TV.
Conclusion
In case, if you are unable to connect the HDMI device to the TV, check the plugged connections between the device and the TV. Check for any frayed, loose or damaged HDMI wires. If ever you need top-quality HDMI cables of various types, visit and buy from Dyeton Solution.


2 Responses
advertise my website
https://www.fedus.in/
ADVERTISE MY BLOG
https://www.fedus.in/blogs/news